

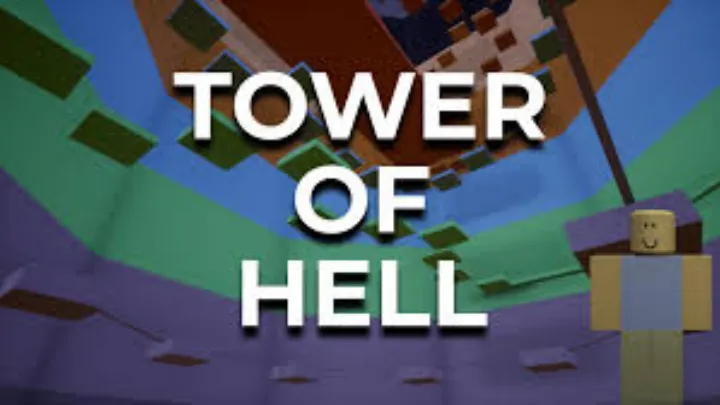
Tower of Hell: The Ultimate Guide to Conquering the Vertical Abyss
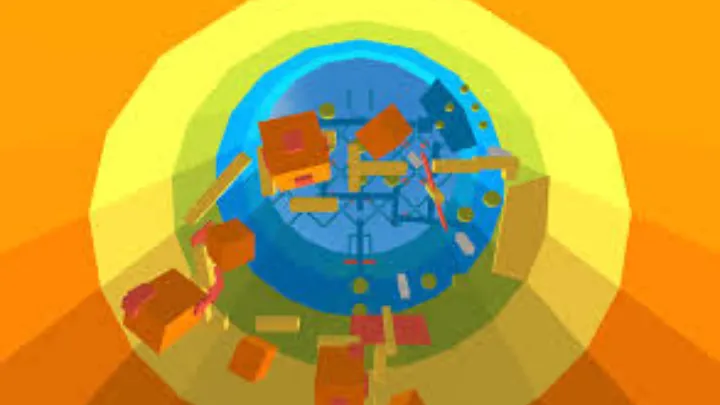
If you have spent any time on Roblox, you have likely heard the screams of frustration emanating from "Tower of Hell." Developed by YXCeptional Studios, this game is a titan of the "obby" (obstacle course) genre, but it twists the formula in a cruel, brilliant way: there are no checkpoints. You spawn at the bottom of a randomly generated tower consisting of six colorful stages. If you fall, you fall all the way to the bottom. If the timer runs out, the tower resets, and you must start from scratch. It is a game of high stakes, sweaty palms, and immense satisfaction for the few who reach the top.
This guide is not just about how to jump; it is about how to think. Tower of Hell is as much a psychological test as it is a platformer. We will dissect the physics engine, explore the hidden mechanics of "ladder flicks" and "wall hops," and provide a comprehensive roadmap to obtaining the coveted Halos that mark you as a true master. Whether you are a "noob" struggling to pass the first gray stage or a veteran speedrunner aiming for the leaderboards, this masterclass will elevate your gameplay to the next level.
1. The Foundation: Physics, Momentum, and Camera Control
Before you attempt to speedrun, you must understand how Roblox characters interact with the world of Tower of Hell. Unlike other platformers with floaty jumps, Roblox physics are relatively rigid, but they carry momentum. The most critical setting you must master immediately is Shift Lock Switch. Go into your Roblox settings and ensure this is set to "On." Pressing the Shift key locks your camera to your character's orientation. This is non-negotiable for high-level play. Without Shift Lock, your character turns in a wide arc; with Shift Lock, your character snaps instantly to the direction your camera is facing. This precision is required for "wrap-around" jumps where you must jump around a wall and land on the other side.
Another fundamental concept is "hitbox management." Your character's hitbox is essentially a block, regardless of what cosmetic items you are wearing. Experienced players often use the "Blocky" body type (R6 or R15 with blocky packages) because it provides the most accurate visual representation of where your feet actually are. Wearing massive wings, flowing capes, or oversized hats can obscure your vision and make you think you are safe when you are actually clipping a kill brick. Strip your avatar down to the basics if you are serious about climbing. Visual clarity is power.
The "Jump Cooldown" Myth
Many new players believe there is a cooldown on jumping. There isn't, but there is a landing lag if you fall from a great height. However, in Tower of Hell, if you time your jump exactly as you hit the ground, you can maintain your forward momentum. This is known as "bunny hopping" (though distinct from the CS:GO version). Practice tapping the spacebar the millisecond your feet touch a platform. If done correctly, you won't lose speed, allowing you to flow through sections like a liquid rather than a solid brick.
2. Advanced Movement: Ladder Flicks and Wall Hops
To transition from a casual player to a pro, you must learn the exploits that the community has turned into features. The most famous of these is the Ladder Flick. Normally, climbing a ladder is slow. However, if you climb a ladder and quickly rotate your camera 90 to 180 degrees while jumping, the physics engine "ejects" you from the ladder with increased velocity. This allows you to skip the last few rungs of a ladder or jump from a ladder to a platform that is seemingly out of reach. To practice this, find a long ladder, climb up, hold the W key, and then flick your mouse to the side while pressing space. It requires high mouse sensitivity, so consider raising your DPI.
The second technique is the Wall Hop. This is notoriously difficult and relies on a glitch in the Roblox physics engine where landing on the absolute edge of two connecting parts allows you to jump again in mid-air. In Tower of Hell, this is often used to save yourself if you slip off a platform. If you slide down a wall and hit a "seam" between two blocks, spamming the jump key can sometimes propel you back up. While less consistent than ladder flicks, recognizing a "flickable" wall can save a run that seems doomed.
3. Gear Guide: Investing Your Coins Wisely
As you play, you earn Coins (based on how high you climb) and Skill Points (based on your level). Coins can be spent on temporary gears for the current round. Knowing which gear to buy—and when—is a strategic layer that most players ignore. The Gravity Coil (blue spring) is the most popular for beginners. It reduces gravity, allowing you to jump higher and fall slower. This is excellent for stages with wide gaps but can be detrimental in tight, ceiling-restricted stages where you might accidentally jump into a kill brick above you.
The Speed Coil (red spring) increases movement speed. This is the speedrunner's tool of choice but is dangerous for precision platforming. One tap of the W key can send you flying off the edge. The Fusion Coil combines both effects but is expensive. A highly underrated tool is the Trowel. This item allows you to place a temporary platform. If you are stuck on a near-impossible jump, you can simply build your own bridge. However, the Trowel has a cooldown, so you cannot spam it to fly to the top. Use it as a safety net for the one jump you always fail.
The Hook: High Risk, High Reward
The Hook (grappling hook) is the most skill-dependent item in the game. It allows you to swing across gaps, completely bypassing parkour sections. However, the physics of the swing are momentum-based. If you grapple the ceiling without enough forward speed, you will just dangle there until the timer runs out or you release and fall. The Hook is best used by players who have memorized the map and know exactly which ceilings are safe to grapple (i.e., not made of "kill parts").

4. The Mutator System: Buying Power (or Chaos)
In the shop menu, you will see a tab for "Mutators." Unlike gears, which only affect you, Mutators affect everyone on the server. This is where the game can become cooperative or toxic. The "good" mutators include Invincibility (removes kill bricks, making them safe to touch), Low Gravity, and Extra Time. Buying Invincibility is the ultimate altruistic move; it essentially guarantees that everyone in the server can reach the top if they don't fall off the map. It costs 500 coins, which is a steep price, so save it for when you are in a "Pro Server" with high-level players to maximize the investment.
Then there are the "bad" mutators, often used by trolls or players looking for a challenge. Foggy obscures vision, making it hard to see the next platform. High Speed can mess up muscle memory for precision jumps. Negative inverts the colors of the screen, which can be disorienting but usually doesn't affect gameplay physics. Be warned: if you buy a disruptive mutator in a server full of serious climbers, you will be flamed in the chat. Use them sparingly, or only in private servers with friends.
5. Pro Towers vs. Noob Towers: The Difficulty Spike
When you first join the game, you are placed in a standard "Noob Tower." These consist of 6 sections and have an 8-minute timer. However, at the bottom of the spawn, there is a glowing white portal. This leads to the Pro Towers. Pro Towers are the true test. They consist of 12 sections and have a 10-minute timer. The difficulty isn't just in the length; the sections chosen for Pro Towers are statistically harder, featuring tighter jumps, moving lasers, and fewer "resting" platforms.
Why play Pro Towers? The rewards are significantly higher. You earn more XP and Coins per completion. Furthermore, the Pro Tower servers are usually populated by better players. This creates a "slipstream" effect where you can watch the player ahead of you to see the solution to a puzzle before you attempt it yourself. If you can consistently beat a Noob Tower, do not linger there. Force yourself into the Pro Towers. You will fail often at first, but the accelerated learning curve is worth it. The only way to get better at the hard jumps is to face them repeatedly.
6. The Halo Hunter’s Roadmap
Halos are the ultimate status symbol in Tower of Hell. They float above your character's head and prove your mastery. There are several Halos, each with specific unlock requirements:
- Pink Halo: Obtained by reaching Level 80 and maxing out the entire Skill Tree. This requires a massive grind of XP and Coins. It shows long-term dedication.
- Teal Halo: Awarded for acquiring all "Coin Box" effects. You must gamble your coins on the random effect boxes until you have collected every trail and particle available.
- Purple Halo: The "Completionist" halo. You must earn every badge in the game except the Certified Beast badge. This includes badges for finding secret stages (like "The Vault") and reaching level milestones.
- Red Halo: The hardest obtainable halo. You must beat THE Tower of Hell, a special mode containing all 330+ sections in one go.
- Carmine Halo: A hidden halo found in the secret section "Saboteur." You get this along with the Saboteur badge.
- Blue Halo: This is the "Wallet Warrior" halo, obtained by unlocking all Robux-exclusive effects. While it looks cool, it commands less respect than the skill-based halos.
To hunt Halos efficiently, focus on the Pink Halo first. It happens naturally as you play. While grinding for Level 80, save your coins. Once you hit max level, dump all your saved coins into the boxes to get the Teal Halo. Do not spend coins on temporary gears during your Halo grind unless absolutely necessary.
7. Mastering Specific Obstacle Archetypes
While the tower is randomly generated, the sections fall into specific archetypes. Learning to recognize these patterns will save you lives.
- The Conveyor Belts: These push you into kill bricks. The trick is to jump against the flow of the belt. Never walk passively on a conveyor; always be jumping to minimize the friction that pushes you back.
- The Rotating Cylinders: These are round beams that spin. If you stand still, you slide off. You must constantly walk in the opposite direction of the spin. If a cylinder is spinning left, hold the D key (move right) to stay neutral.
- The Disappearing Platforms: These blink in and out of existence. They operate on a global timer. Do not watch the platform right in front of you; watch the pattern of the whole set. Count the rhythm in your head ("1, 2, jump"). Panic is your enemy here.
- The "Stickout" Walls: Walls where platforms stick out and retract. Rush these. Hesitation kills. As soon as the first one extends, go. If you wait for the "perfect" alignment, the cycle usually desyncs by the time you reach the end.
8. The Economy of Hell: Farming Coins and XP
If you want to max your Skill Tree, you need an economic strategy. The fastest way to gain Coins and XP is speed, not height. Finishing a Noob Tower quickly is often more efficient than failing at the top of a Pro Tower. XP is calculated based on how many sections you clear. If you find a server where players are constantly buying "Invincibility" or "Lengthen" (adds sections), stay in that server. It is a gold mine.
Another tip is to join a "Badge Walk" server if they still exist (often found in private server links on Discord). However, for legitimate play, look for servers with "Double Coins" active. If a rich player has bought the Double Coins mutator, it applies to everyone. Grind aggressively during these windows. Also, keep an eye on the "Daily Quests" or limited-time events, which often provide coin bonuses. Do not waste coins on skipping rounds; save them for permanent upgrades.
9. "THE Tower of Hell": The Ultimate Challenge
For those who find the Pro Tower too easy, there is THE Tower of Hell. This is a special game mode accessed through the "THE Tower" portal in the Start section. This tower contains every single vanilla section in the game (currently 330) stacked on top of each other. It is a behemoth.
Beating this is not a sprint; it is a marathon. It can take hours. There is no timer (usually), but if you disconnect, you lose progress. You need to set aside a real-life afternoon for this. Bring water. The strategy here is extreme caution. Do not use shortcuts. Do not attempt ladder flicks unless you are 100% consistent. Take the intended path every single time. Getting the Red Halo from this challenge is the ultimate bragging right. If you fall, you don't always fall to the bottom (some versions have safety nets or checkpoints), but in the purest form, a fall is devastating. Mentally prepare for the possibility of losing 2 hours of progress in one second.
10. Mental Fortitude: Managing Rage and Patience
We must address the elephant in the room: Rage. Tower of Hell is designed to make you angry. The lack of checkpoints triggers a primal frustration when you fall from the top. However, rage makes you play worse. When you are angry, you rush. When you rush, you make mistakes. When you make mistakes, you fall again. It is a vicious cycle.
The best players practice "Stoic Gaming." When you fall, physically take your hands off the keyboard for three seconds. Take a deep breath. Remind yourself that the tower will reset in a few minutes anyway. If you find yourself shaking or slamming your desk, turn the game off. You cannot beat the tower with shaky hands. Additionally, turn off the in-game chat if people are being toxic. Seeing "EZ" typed in the chat after you fall can be the tilting point. Protect your mental state at all costs. The tower is infinite; your patience is not.
Conclusion
Tower of Hell is a brutal, unforgiving, and deeply addictive experience. It strips the platformer genre down to its raw essentials: gravity, precision, and consequence. By mastering the mechanics of Shift Lock and ladder flicks, investing your coins into the right gears, and maintaining a cool head under pressure, you can transform from a ground-dwelling noob into a Halo-wearing deity. Remember, every fall is a lesson. The tower does not care about your frustration, but it will bow to your persistence. Now, check your timer, tighten your laces (or equip your Speed Coil), and start climbing. The top is waiting.
Master Tower of Hell with this guide: use Shift Lock for precision, learn ladder flicks, manage coins for Gravity Coils, and stay calm to conquer the no-checkpoint vertical challenge.